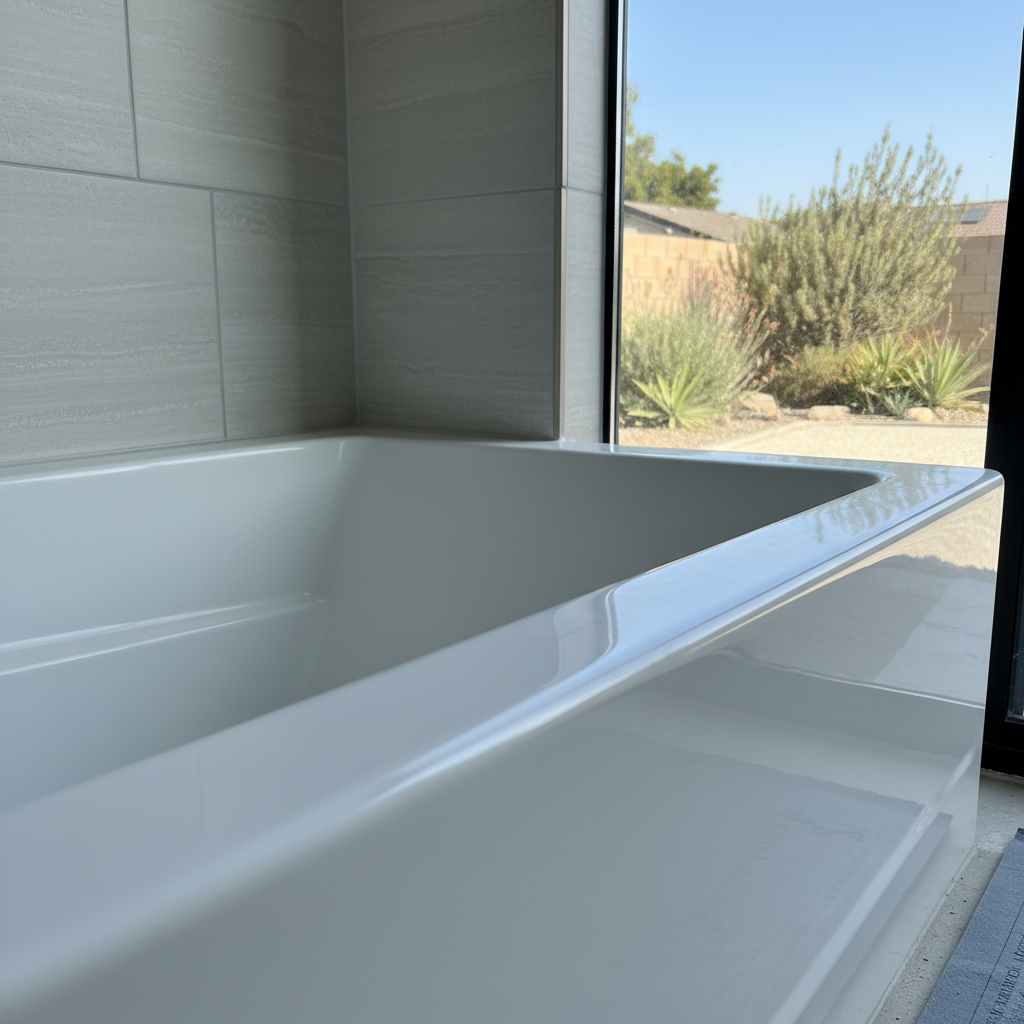
Swapping out an old bathtub can completely change how your bathroom looks and functions. If you live around the mid-century ranch homes up near Bell Canyon or down closer to El Camino Real, you have probably looked at that dated cast iron or fiberglass tub and wondered if you could tackle the swap on your own. Midway Bathroom & Kitchen sees plenty of bathroom upgrades gone sideways because a weekend project turned into a plumbing nightmare. This article breaks down what homeowners can realistically handle themselves and when professional help is required.
Before You Start: Planning and Demo
Homeowners can definitely handle the demolition phase if they are willing to put in some physical labor. Tearing out old tile, hauling away water-damaged drywall, and breaking up an old acrylic or fiberglass unit saves on labor costs. Proper safety gear must be worn because older homes around the San Fernando Valley sometimes hide surprises behind those walls. If you are dealing with an original heavy cast iron tub, however, think twice before trying to haul it out solo through narrow hallways. That is heavy work that usually requires two strong backs and heavy-duty moving blankets.
During the Project: Plumbing Realities
This is where the line between DIY and professional work gets crystal clear. You can pick out your new bathtub, measure twice, and even dry-fit the unit if dimensions line up perfectly. Hooking up the actual drain, overflow assembly, and mixing valve is a totally different story. If your plumbing lines are older galvanized pipes that have built up mineral scale, one wrong twist can snap a pipe inside the wall. Midway Bathroom & Kitchen gets called in all the time to fix leaks that started because a DIY drain connection was not sealed right or the bathtub was not shimmed level on the subfloor. A tiny leak underneath your new bathtub will quietly rot out your subfloor long before you ever smell mildew.
After the Installation: Finishing Touches
Once the heavy lifting and plumbing connections pass pressure tests, homeowners can take back the reins. Caulking the seams where the bathtub meets the wall, painting surrounding drywall, and attaching trim plates are great DIY tasks that let you put your personal touch on the space. Take your time with the silicone caulk bead around the edge. A clean, smooth seal keeps water out of your walls and gives the whole room that crisp, finished look.